
My daughter is starting kindergarten this year and they are not allowed to have backpacks only totebags. We found plain colored canvas totebags at Hobby Lobby for $2.99 and then we added my daughters name. They have several colors to choose from but I wanted something neutral that would not show all the dirt that will end up on it which left me with black.
The first thing that I do when I am going to cut fabric with my Cricut is cut the design in cardstock first to check sizing and layout before I waste fabric. The next picture shows my cardstock cut outs laid out on the bag.

For this project I used the Plantin Schoolbook cartridge and the base lower case font and cut mine at 5". Once I checked to make sure that my letters would fit and the sizing looks okay then it is time to get the fabric ready.

I let my daughter pick out the fabrics that we were going to use. She loves anything polka dotted so she had to have a few on the bag. If I were to do this project again I don't think I would have used the black polka dot because it did not show up very well. I was afraid it might not but she wanted it on there. I cut my pieces of fabric to 6"x6" squares other tthat if han the turquoise piece that came from a charm pack. 6x6 is larger than necessary but I didn't want to start cutting and it go off the fabric. Once the fabric is cut I cut my bonding material to a size slightly smaller than the squares. For this project I used Steam and Seam 2 which is a lighter weight adhesive that allows you to sew through it. This is the first time I had used this product as I usually use Ultra Heat N Bond. The lesson I learned from this was that it is much harder to cut your fabric with the Cricut using Steam and Seam 2. It does not stiffen the fabric like the Ultra Heat N Bond. In order to cut the fabric with the Steam and Seam 2 I had to heavily starch my fabric and then it worked fine. This issue with the Ultra Heat N Bond is that it stiffens the fabric so much that if you want to sew on top of your applique it can be done but difficult to do.

Now that you have heard my lecture on the two adhesive materials on with the tutorial. There is paper on the front and the back of either adhesive. Peel one side off and place on the wrong side of the fabric as shown.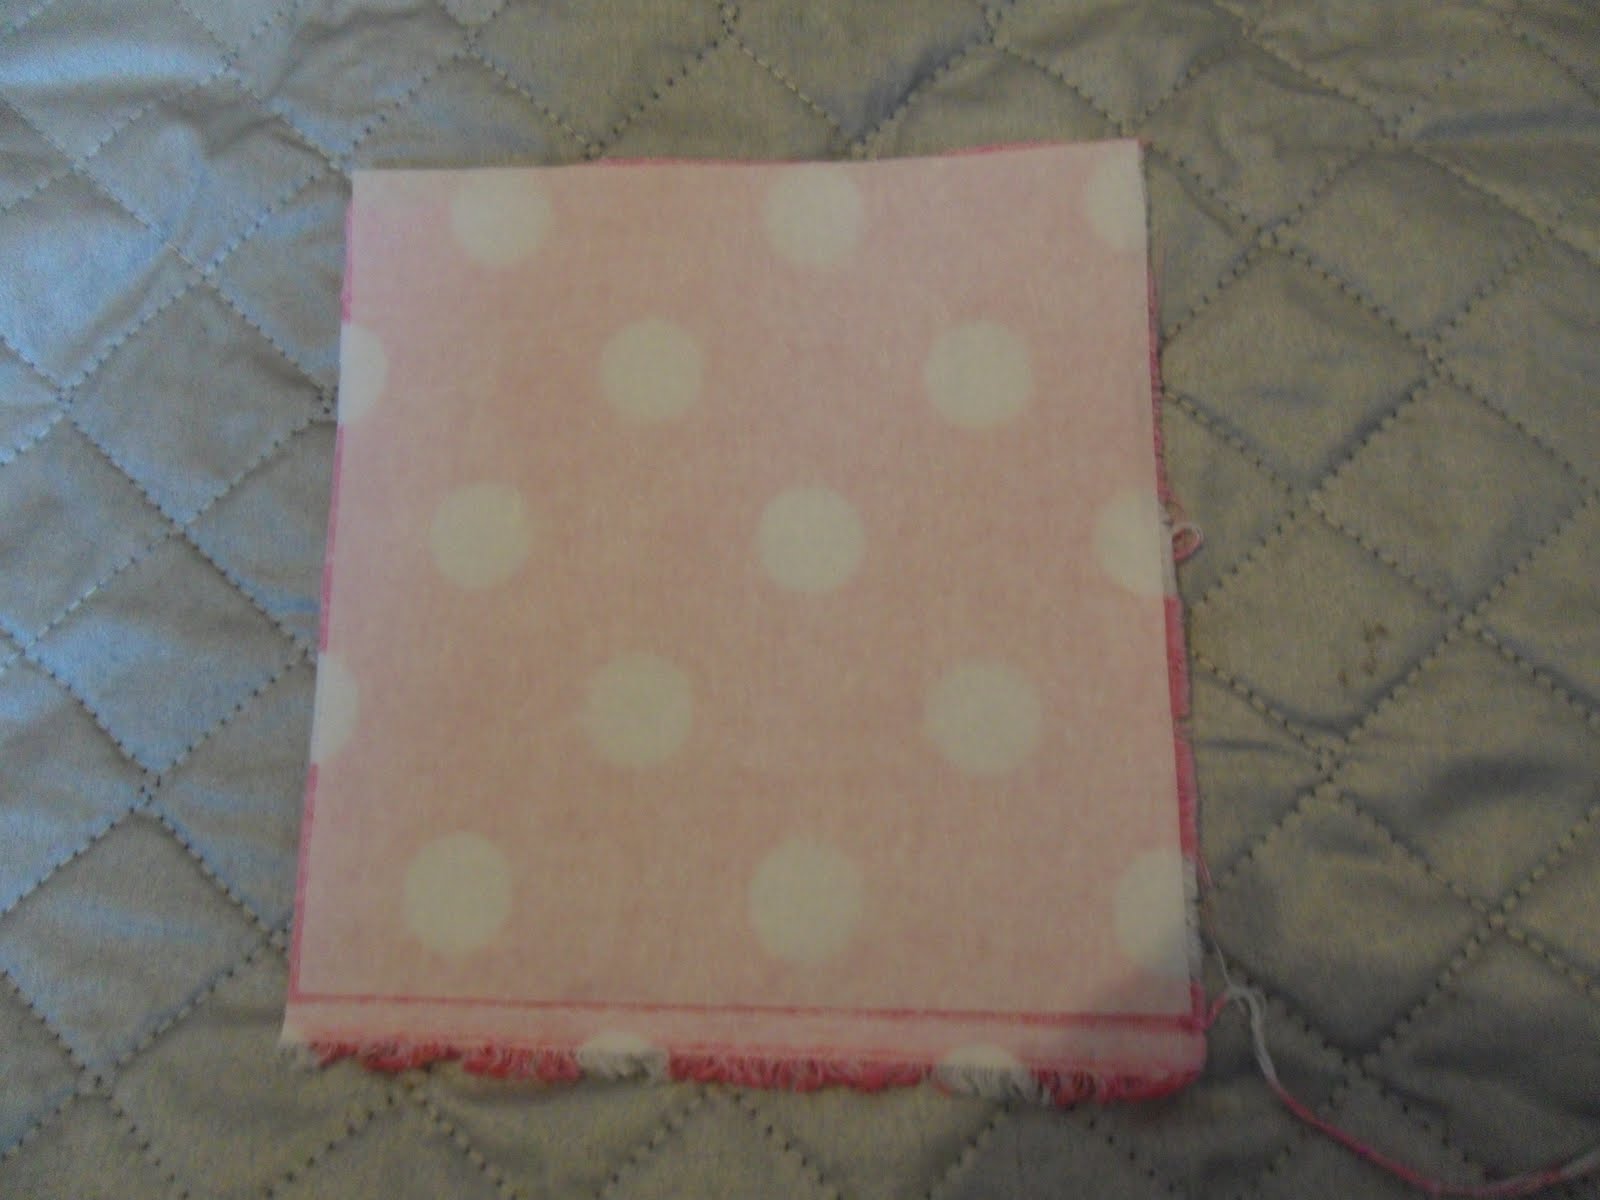
The instructions state to iron and hold for 10-20 seconds you will leave the paper on the other side while doing this. 

Repeat this procedure will all of your materials to get your letters. Once you have everything cut you can iron them on. I set the bag on my cutting mat and using my ruler made sure everything was lined up and then ironed. Again, iron and hold 10-20 seconds using the setting on the iron for the type of material you are using. The directions for the adhesive are on the package as well. This will give you your final product. From this point you can leave it like this or sew the borders for added strength. I always sew my borders on my shirts since they will be washed repeatedly and I think I will be sewing the edges of this since it will probably take a beating. I like to do a long hand stitch with embroidery thread around the perimeter but a machine stitch would work just as well. Now if I can just get myself ready for my baby going to school I will be doing good!!! Happy crafting!!
No comments:
Post a Comment